Here are a few tips that will help you get started on your landscape improvement project.
- BUDGET-Establish a realistic budget for your entire job. Include everything on your list from design fees and permits to garden furniture and accessories. Provide yourself with a cushion of 10% minimum for unexpected expenses that may pop up.
- PRIORITIES-List all your improvements in order what improvement is absolutely necessary to what you may consider items or improvements that can be done at a later date without affecting the overall project.
- PLAN PLAN PLAN-Have a battle plan if you expect to get the job done right. Poorly planned project usually cost more well planned ones and often don’t look so good. Whether it’s on a napkin or full size professional plan, without a road map you’ll be lost. Having a plan allows you to follow a script and make revisions during the project if necessary.
- GET ESTIMATES-Get estimates from licensed reliable contractors that do work in your city or region, and that reside there well. Check the status of each contractor’s license online with your state license board. Most contractors will have a client list that you may contact and jobs that you can see completed, or in construction. The selection process can be long and tedious but you will eventually narrow down your choice to two companies that you feel comfortable with in price and personality.
- LEGAL CONTRACT-Now that you have found a contractor to for your project be certain that you have a contract that includes all the information required by the contractor licensing board in your state. Contracts must include the time frame for completion, payment schedules, and workmanship, as these are often the most disputed items between contractor and client during construction so be sure all are in agreement and it's adhered to.
- APPROVALS-Make sure you or your contractor gets the required permits as well as HOA approval if necessary BEFORE starting your project. Projects can easily get derailed by HOA, permit, and neighbor approval issues.
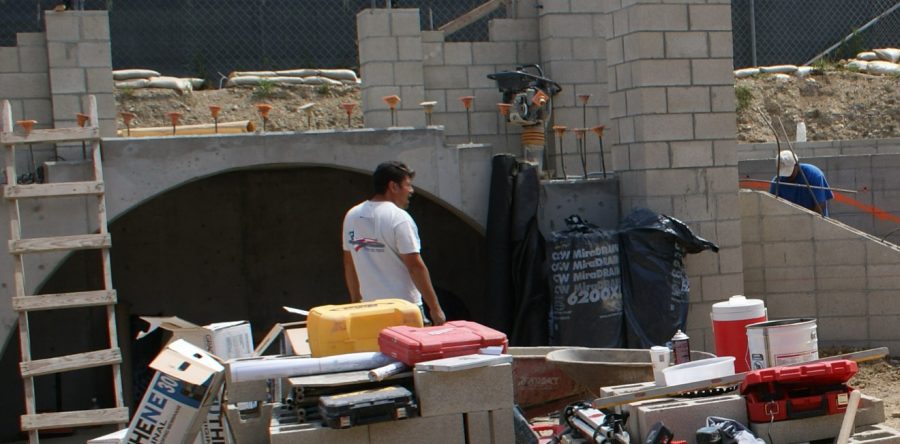
- DEMO-There is usually something to remove or demolish on all projects, whether it be a small job or if you are wiping the slate clean, make sure that you remove any valuable furniture and pottery, equipment, plants, and anything else that can be damaged during demo and construction. Most contractors are careful but don't expect them to tip toe around obstructions left in the yard. Contractors are usually cool guys and will help you move any heavy items with their crew because they don't want stuff in the way as well. Be certain that all the trash is disposed of at the landfill or recycling center. You can always request receipts from your contractor for verification.
- START THE MACHINES-Whether you are doing the project DIY or have a contractor, machines are a beautiful thing when you want to get the job done quickly. Your contractor will likely have all the right equipment, but you can rent virtually any machine from jackhammers to Bobcats. It may take a moment or two to learn how to operate some equipment but, a 30 lb jackhammer with a spade bit works wonders on hard pan soils when planting time rolls around.
- CONSTRUCTION-It’s all about “Get er done” when you have come to this point. It just can’t go fast enough. But, keep you eye on the progress and have regular meeting with your contractor to keep the schedule tight. Several trades can work on a project if well coordinated and supervised by you or your contractor. Don’t be afraid to pull out a tape measure to verify dimensions and clearances. Even if you’re not sure, your contractor will get the message that your watching it all. Most good contractors will understand and appreciate that. If you make changes expect to pay additional charges.. Get a cost for changes first, approve them, and sign a change order agreement. Either way, expect to pay for additional work requested.
- BE NICE-I cannot express in words the value and goodwill of an ice chest full of ice cold water on a hot summer day to a crew of hot sweaty construction workers. On hot days water runs out fast or gets warm. It goes a long way and shows you care. Afterward, no worries when you want a plant moved over two inches to the right. It’s done.
- FINISH LINE-The finish line sometimes seems to get farther away toward the end of a project. Details, details, details. Finish work naturally takes more time, but it’s the point when you begin to see it all come together to form what you have visualized your project would look like all along. This is the fun part, but keep you eye on the job and it will go smoothly. This is especially important on DIY projects because this phase is the most common point of failure on most projects. Finish work takes skill, even if it’s applying mulch to a planter bed. How do you like yours, smooth or lumpy?
- BYE, BYE, DONE!-Make sure that you have a walk through with your contractor and create a list of items that may need to be fixed or completed before final payment. Make sure your contractor gets it all completed 100% or those last minute fix-it items may fall through cracks after final payment. On DIY projects make your own list and judge your work honestly. If it looks bad to you it will most definitely look bad to your guests. Moving items in place to conceal mistakes should not be your go to finishing tool. Just bite the bullet and reload. You will feel much better, and not have to turn away from the ugly. Get any lien releases, signed and approved permit cards, and any other paperwork from your contractor at your last meeting or walk through. All contractor installed work must have a warranty period as required by each state, so make sure you have an understanding with your contractor you expect warranty work to be completed if necessary. GOOD LUCK AND ENJOY IT